
Completed: December 2013
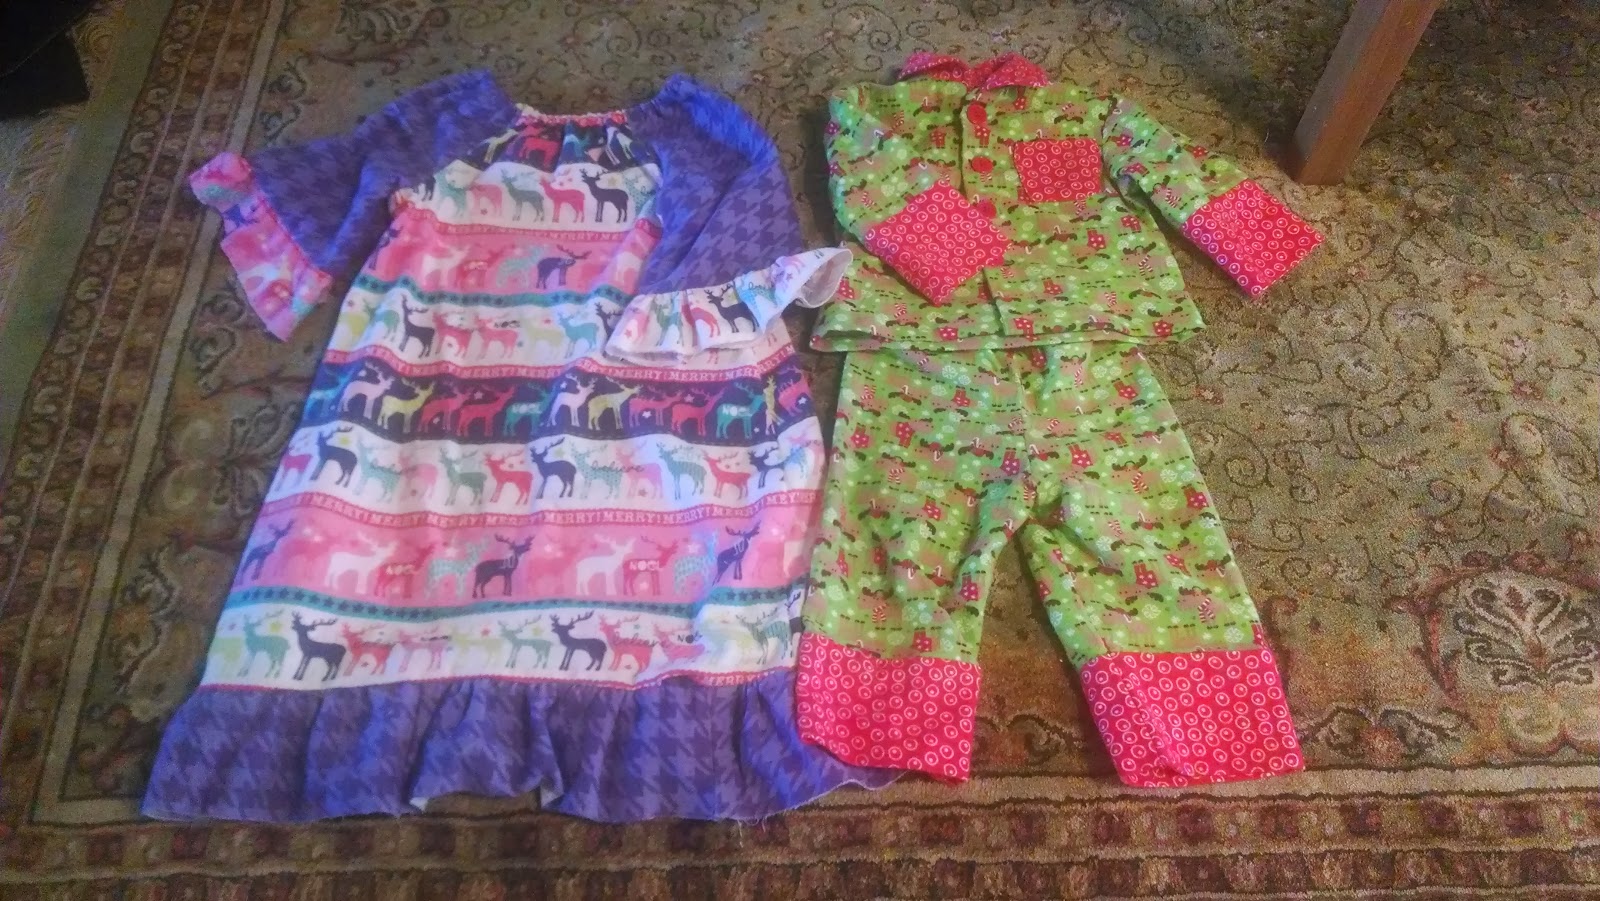
Boy Jammies:
Pattern: Simplicity 3584, Style C
Materials: Christmas Moose flannel and Circle Dots Red Snuggle Flannel from Joann Fabrics.
Notes: This was my first time using an actual paper pattern. Once I figured out the markings and terminology the process was fairly straightforward. There were a lot of steps, way more than I'm used to, but the instructions were usually fairly easy to understand. I did get a little confused attaching the collar. I'm super happy with how they turned out. I used existing jammies that I knew fit to determine the pattern size. I'm glad I did because his measurements called for a larger size, but the jammies lined up with smaller markings on the pattern. I went with the smaller size and they fit him perfectly. Although to be fair he's extremely hard to measure..
Pattern changes: I added the cuffs using the pillowcase technique before I attached the legs and sleeves. The cuffs are each folded over with the single layer pant or sleeve sandwiched in the middle. I then obviously ignored hemming instructions for the sleeves and pants.
Girl Nightgown:
Pattern: Long Sleeve Toddler Peasant Dress Tutorial from Little Bean Workshop
Materials: Holiday Inspirations Christmas Reindeer Stripe Flannel and Houndstooth Purple Snuggle Flannel from Joann Fabrics.
Notes: This project was super simple and easy, especially following the other jammies. I completed the entire thing in one evening. I bought a yard of the reindeer fabric and 1/4 yard of the purple and it was barely enough for my four year old. I forgot to take into account the directional pattern of the main fabric. I was originally planning to make the sleeves from the main fabric but they would have been going the wrong direction (lengthwise down her arm), so I went with the purple instead. I'm glad I did because I think it looks much better. I also made sure to make the armhole extra deep because some of the comments said they had trouble getting the arms through because it was too small. I also added the ruffles instead of hemming. I love the way this turned out. It's big and loose and comfy on her, and so cute. I think she'll be able to get a couple of years out of this one.


